







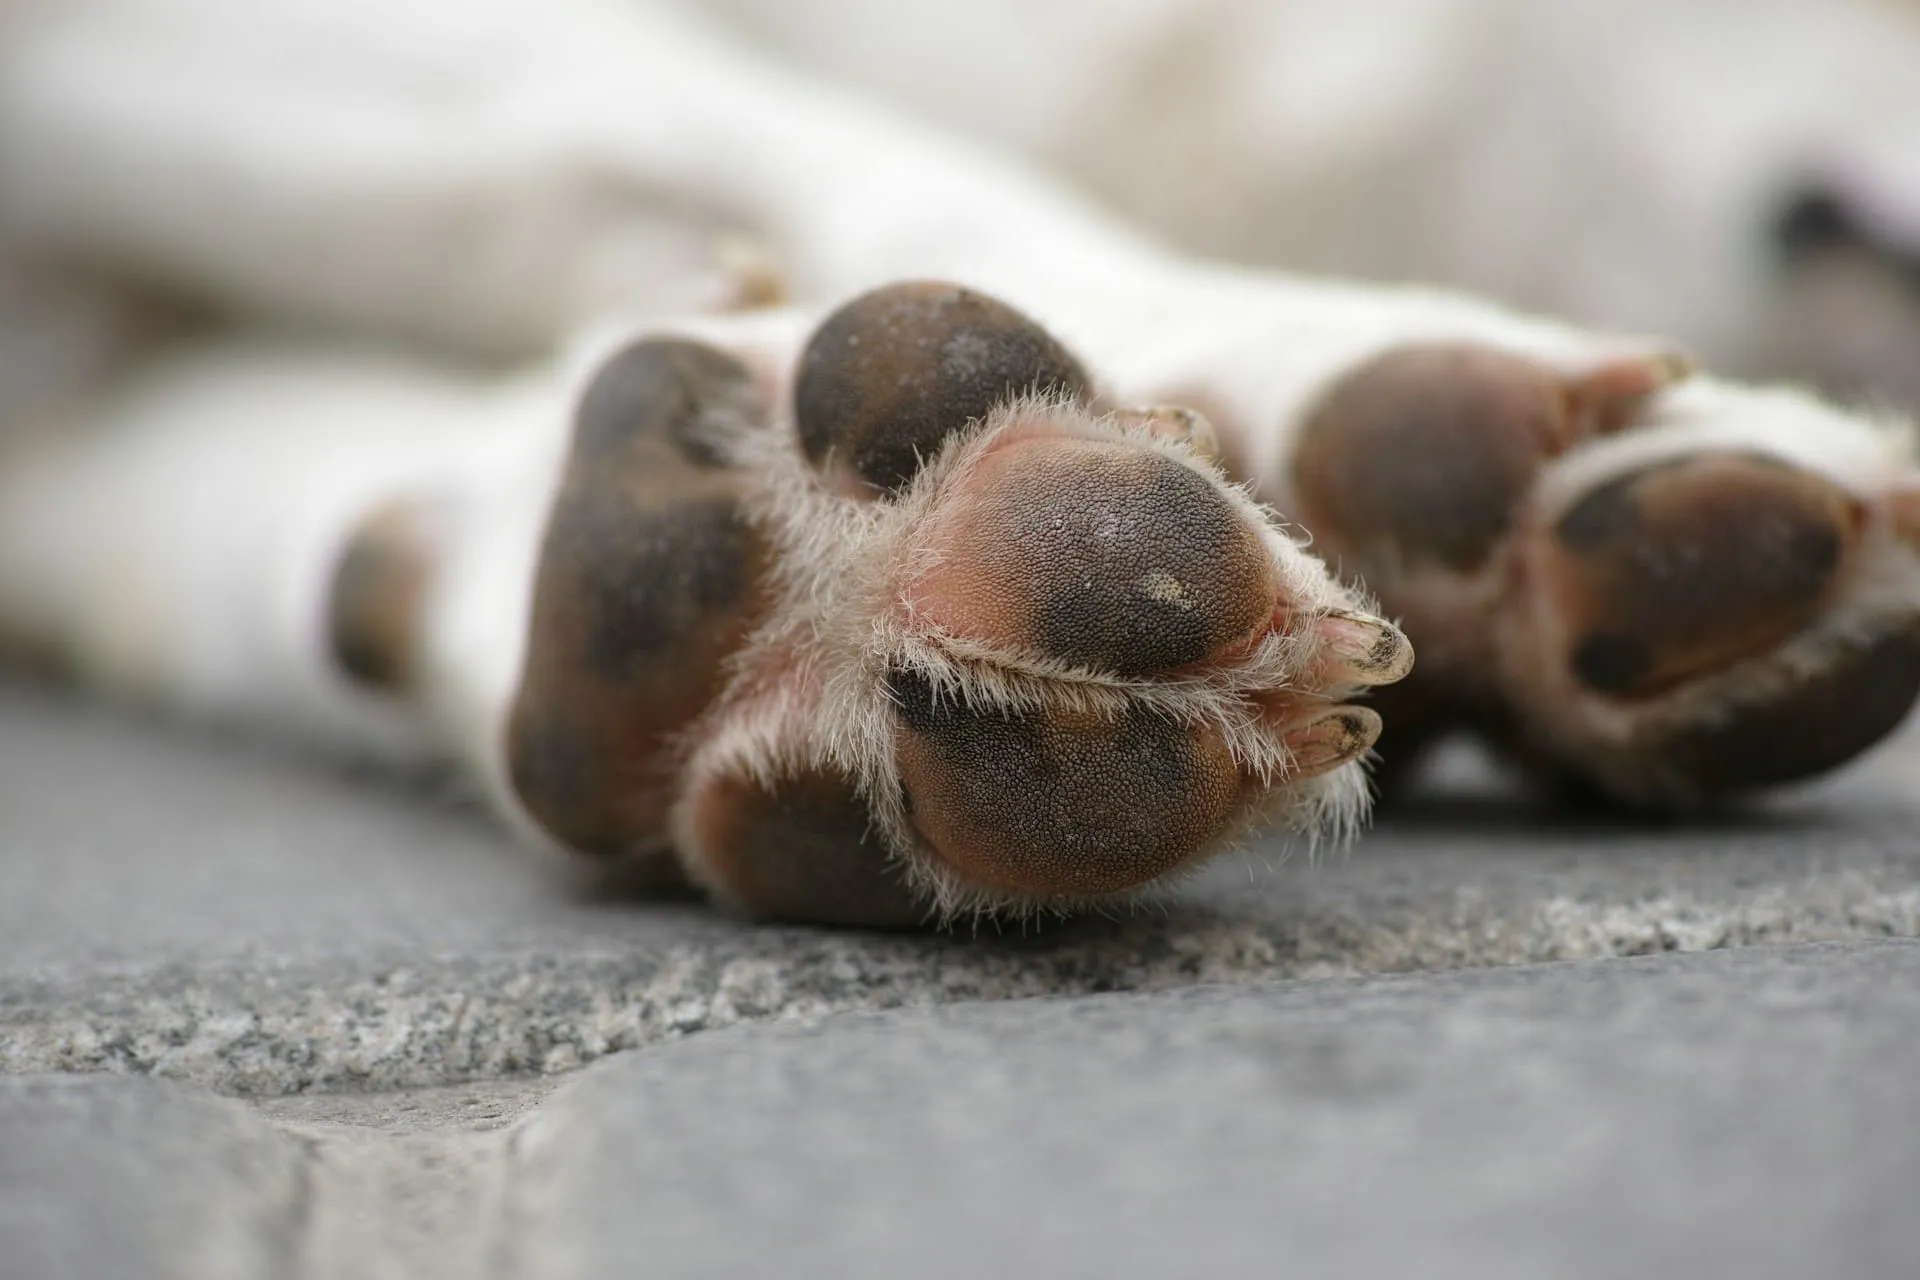
The bond we share with our dogs runs deeper than words can express. Their paws carry them through countless adventures by our side, leaving invisible prints on our hearts long before we ever think to capture them in plaster. At Love, Baxter, we understand that creating a physical memorial of your dog’s paw isn’t just a craft project: it’s an act of love, a way to hold onto something tangible when everything else feels impossibly absent.
Whether you’re preparing for the inevitable goodbye or seeking to honor a companion who has already crossed the rainbow bridge, making a dog paw print in plaster offers a beautiful way to preserve their memory. This detailed guide will walk you through every step of the process, ensuring you create a lasting tribute that captures the shape of their paw and the essence of your unbreakable bond.
Since we started Love, Baxter in memory of our beloved companion, we’ve helped countless families through this meaningful process. After Baxter passed away in October 2024, we realized how important these tangible memorials become during the grief journey. Every family deserves to have something beautiful and lasting to honor their dog’s memory, and creating a plaster paw print provides exactly that: a touchstone for love that transcends loss.
The process might seem daunting initially, especially when emotions run high, but we’ve broken it down into manageable steps that anyone can follow. With the right materials, proper timing, and a gentle approach, you’ll create a memorial that brings comfort for years to come. Let us guide you through this labor of love, step by step.
Table of Contents
- 1Why Paw Print Memorials Matter to Grieving Families
- 2When to Make a Paw Print Memorial
- 3Materials You’ll Need for Plaster Paw Prints
- 4Step-by-Step Guide to Making Dog Paw Prints in Plaster
- 5Tips for Success and Common Mistakes to Avoid
- 6Alternative Memorial Options for Different Situations
- 7Honoring Your Dog’s Memory Beyond the Paw Print
- 8Frequently Asked Questions About How to Make a Dog Paw Print in Plaster
Why Paw Print Memorials Matter to Grieving Families
When we lose a dog, we lose our walking companion, confidant, and source of unconditional love. In those moments of profound grief, having something physical to hold, representing the thousands of walks, the gentle placement of a paw on your lap for comfort, the excited scratching at the door, can provide immeasurable solace.
A plaster paw print is more than decoration; it becomes a touchstone for memories. Unlike digital photos that remain trapped behind screens, a plaster memorial invites touch, allowing you to trace the familiar ridges and valleys of pads that once carried your beloved friend. Many families tell us that running their fingers over their dog’s paw print helps them feel connected during the most challenging moments of grief.
The process of creating the memorial itself can also be therapeutic. Sarah from Portland shared with us how making paw prints for her 14-year-old Golden Retriever, Murphy, helped her family process his declining health. “Working together on Murphy’s memorial gave us something positive to focus on during his final weeks,” she explained. “Now that he’s gone, we have this beautiful reminder of his gentle paws that brought so much comfort during his lifetime.”
Creating a dog paw print in plaster provides a constructive outlet for overwhelming emotions while ensuring their physical presence remains part of your home forever. The weight of the finished memorial in your hands carries emotional significance: substantial enough to feel meaningful and detailed enough to trigger precious memories.
When to Make a Paw Print Memorial
Many pet parents feel pressure regarding timing. While we often wish we had more time to prepare, there’s no “perfect” moment to create a pawprint memorial. Understanding your options can help you make the best decision for your situation.
During your dog’s lifetime: Creating paw print memorials while your dog is healthy allows for a relaxed, positive experience. Your pup can participate without stress, and you can practice the technique. Many families create annual paw prints to document growth or to have multiples. This approach works particularly well for puppies whose paws will change dramatically or families wanting to include multiple pets in their memorial collection.
During illness or senior years: If your dog faces health challenges, paw print creation becomes more urgent but remains entirely possible. Senior dogs or those with mobility issues may need extra support, but their paws often create the most meaningful impressions, weathered by years of loyal service. The key is working gently and being prepared to accommodate your dog’s comfort level.
After passing: Post-mortem paw prints are possible within six to twelve hours after death before rigor mortis affects the limbs. While emotionally challenging, many families find this final act of memorialization deeply meaningful. Work gently and consider having a supportive friend assist you during this difficult time.
Each timing option offers its own benefits and challenges. The most crucial factor is choosing what feels right for your family and your dog’s specific situation.
Materials You’ll Need for Plaster Paw Prints
Creating a professional-quality dog paw print in plaster requires specific materials, most of which can be found at craft stores or online. Investing in quality supplies ensures your memorial will last for decades to come, making this small investment worthwhile for such a meaningful keepsake.
Essential Materials for Success: Start with plaster of Paris, purchasing two to three pounds to allow for multiple attempts and practice runs. You’ll need a large mixing bowl that you can dedicate to crafts or use disposably, along with measuring cups specifically for water and plaster ratios. Wooden stir sticks or large spoons help achieve smooth mixing without introducing air bubbles that can weaken your final product.
Non-stick cooking spray or petroleum jelly prevents sticking issues that can damage your memorial during removal. Keep clean towels nearby for immediate paw cleaning after the impression process. Choose a shallow cardboard box or disposable pie tin measuring six to eight inches in diameter to serve as your mold.
Fine-grit sandpaper, approximately 220 grit, allows for gentle finishing touches without damaging delicate paw print details. If you plan to add color or protection, include acrylic paints and clear protective sealant in your supply list.
Helpful Additions for Smooth Process: High-value treats keep your dog calm and cooperative throughout the process, and having an assistant available helps manage anxious or energetic pets. Drop cloths protect your workspace from inevitable spills and splashes. A timer helps track critical plaster setting times, and disposable gloves make cleanup much easier while protecting your hands from plaster’s drying effects.
The investment in quality plaster pays dividends in the final result. Cheap alternatives often crack or crumble over time, while proper plaster of Paris creates a durable memorial that honors your dog’s memory appropriately. Remember that this memorial may become a family heirloom, passed down through generations as a reminder of a beloved family member.
Step-by-Step Guide to Making Dog Paw Prints in Plaster
Preparing Your Materials and Workspace
Begin by setting up your workspace in a calm, familiar environment where your dog feels comfortable. Lay down drop cloths and arrange all materials within easy reach. The process moves quickly once you start mixing plaster, so preparation prevents stress for you and your dog. Choose a quiet time when your dog is relaxed but not sleepy. Mid-morning often works well for most dogs.
Clean your dog’s paw thoroughly with a damp towel, removing any dirt, debris, or moisture that could interfere with the impression. Pay special attention to the areas between toes where dirt commonly accumulates. Dry the paw completely using a clean, dry towel. Even small amounts of water can affect plaster consistency and setting time. If your dog has long hair between their toes, consider trimming it slightly for a cleaner impression, though this isn’t strictly necessary for a meaningful memorial.
Set up your mold container by spraying it lightly with cooking spray or coating it with a thin layer of petroleum jelly. This prevents the plaster from sticking and makes removal much easier later in the process. Choose a container slightly larger than your dog’s paw with sides at least 1.5 inches high to ensure adequate plaster depth for a sturdy memorial.
Creating the Perfect Impression
Mix a small amount of plaster, approximately one cup of plaster powder to half a cup of water, for your initial impression layer. Mix thoroughly until you achieve a consistency that resembles thick cream, smooth but not watery. Lumps in the plaster will transfer to your memorial, so take time to achieve complete smoothness through patient stirring.
Pour this mixture into your prepared container to about half an inch depth. The layer needs sufficient thickness to capture paw print details while remaining thin enough for easy paw insertion. Tap the container gently on your work surface to encourage air bubbles to rise and pop, preventing weak spots in your memorial.
Allow the plaster to set for two to three minutes until it’s firm enough to hold an impression but still soft enough for your dog’s paw to press into easily. Test readiness by gently touching the surface with your finger: it should feel slightly firm but yield to pressure without sticking to your skin. This timing is critical for capturing clear paw print details.
Guide your dog’s paw into the plaster, pressing down firmly but gently to ensure all pad details transfer clearly. Apply steady, even pressure for ten to fifteen seconds, keeping your dog calm with treats and praise throughout the process. Watch for the plaster to rise slightly around the edges of the paw, indicating good contact and detail transfer.
Lift the paw straight up to avoid smudging the impression, then immediately clean the paw with a damp towel to remove any plaster residue. Most dogs tolerate this process well, especially when approached calmly and positively.
Mixing and Pouring the Supporting Plaster
While the impression sets, prepare your main plaster batch that will provide structural support for your memorial. Mix approximately two cups of plaster powder with one cup of water, stirring thoroughly to eliminate lumps that could weaken the final product. The mixture should pour smoothly but remain thick enough to hold detail and provide adequate strength.
Test your plaster consistency by lifting some with your stir stick: it should flow off smoothly without being thin or watery. If the mixture seems too thick, add small amounts of water gradually. If it is too thin, incorporate more plaster powder slowly to avoid over-correcting the consistency.
Once the impression layer has set for about ten minutes and feels firm to a gentle touch, carefully pour the main plaster mixture over it. Fill your container to within one-quarter inch of the top, leaving room for any expansion during the curing process. Pour slowly and steadily to avoid creating air pockets that could weaken your memorial or disturb the detailed paw impression below.
Tap the container gently on your work surface several times to release air bubbles that could weaken the final product. Small bubbles may rise to the surface. This is normal and beneficial for creating a strong, solid memorial.
Finishing and Preserving Your Memorial
Allow the complete memorial to cure for at least two to four hours before attempting removal, though overnight curing produces the strongest results. Plaster continues hardening for up to twenty-four hours, so patience during this stage ensures a durable final product that will last for generations. Resist the temptation to check progress by poking or prodding, as this can damage the surface detail.
Once fully cured, the plaster should feel completely solid and cool to the touch. Carefully remove your dog paw print from the mold by turning the container upside down and gently flexing the sides. Don’t force it if it resists. The plaster may need additional curing time. When ready, it should release easily from a properly prepared mold without any sticking or damage.
Use fine-grit sandpaper to smooth any rough edges or imperfections, working gently to preserve the precious paw print details. Many families enjoy this meditative finishing process as a time to reflect on memories with their beloved companion. Take your time with this step, as rushing can damage delicate details that make your memorial unique.
Consider sealing your memorial with clear acrylic sealant to protect against moisture and wear. This is especially important if you plan to display the paw print outdoors or in humid environments. Apply the sealant in thin, even coats, allowing each layer to dry completely before adding the next.
Tips for Success and Common Mistakes to Avoid
Creating the perfect dog paw print in plaster often takes practice, and that’s completely normal. Even experienced crafters encounter challenges, especially when working with anxious or energetic dogs. We’ve learned from countless families who have shared their experiences, and these insights can help you achieve the best possible results.
Common mistakes that affect final quality: Mixing plaster too thin results in poor detail capture and weak memorials that may crack over time. Many rush the impression timing, leading to smudged prints when the plaster isn’t properly set. Insufficient paw cleaning causes texture irregularities that detract from the smooth finish most families prefer. Moving the paw during impression creates blurred edges that diminish the memorial’s clarity and beauty.
Inadequate mold preparation makes removal difficult and can damage your precious memorial during the extraction process. Using the wrong plaster-to-water ratio affects both strength and detail capture while skipping the air bubble removal step creates weak spots that may cause cracking later.
Success strategies that ensure beautiful results: Practice the timing with a test batch before using your dog’s paw, allowing you to perfect your technique without pressure. Have high-value treats and enthusiastic praise ready to keep your dog cooperative throughout the process. Work with a partner if your dog tends to be restless: one person can manage the dog while the other handles the plasterwork.
Consider your dog’s energy level and natural rhythms when planning your memorial session. Tired dogs often cooperate better, making post-walk or post-play times ideal for impression-taking. Take multiple impressions if possible, especially during your dog’s lifetime. You can always choose the best one or create several memorials for different family members.
Remember that minor imperfections often add character to memorial pieces. A slightly asymmetrical paw print or small texture variations tell the story of a real dog who lived a real life, making the memorial even more precious and authentic to your beloved companion.
Alternative Memorial Options for Different Situations
While plaster paw prints offer excellent durability and detail, they’re not the only way to preserve your dog’s memory. Understanding alternatives helps you choose the best method for your situation, your dog’s temperament, and your family’s preferences.
Clay impressions provide similar detail to plaster but offer more working time and easier handling for anxious dogs. Air-dry clays require no mixing and stay workable longer, making them ideal for multiple attempts or situations where timing is challenging. The clay remains soft longer, allowing for adjustments and corrections that aren’t possible with quick-setting plaster.
Ink paw prints on special paper create beautiful, artistic memorials perfect for framing and displaying in living areas. This method works exceptionally well for dogs who won’t tolerate having their paws pressed into materials or for families who prefer a more traditional keepsake approach. The process is quick and stress-free for most pets.
Salt dough impressions use common household ingredients and create charming, rustic memorials with a homemade feel. While less durable than plaster, they offer a more organic, handmade appearance that many families prefer. This option works well for families with children who want to participate in creating the memorial.
Each alternative offers unique benefits, and many families choose to create multiple types of memorials using different methods, ensuring they have various ways to remember and honor their beloved companion.
Honoring Your Dog’s Memory Beyond the Paw Print
A plaster paw print memorial serves as the centerpiece of remembrance, but it gains even more meaning when part of a broader tribute to your dog’s life. Consider creating a memory corner in your home where the paw print shares space with favorite photos, your dog’s collar, or their most beloved toy.
Many families write letters to their departed dogs, sharing updates about family life and expressing ongoing love. Others plant memorial gardens where they can sit quietly with their dog’s memory, often displaying the paw print on a weatherproof stand among flowers that bloom in their pet’s favorite seasons.
Tom and Jennifer from Seattle created a memory box that includes their Labrador Charlie’s paw print alongside his favorite tennis ball, a handwritten letter from each family member, and photos from his puppyhood through his final days. “Having everything together in one special place helps us celebrate Charlie’s whole life, not just mourn his loss,” Jennifer shared with us.
Creating something beautiful in your dog’s honor, whether a simple paw print or an elaborate memorial display, transforms raw grief into active love. Each time you see or touch that memorial, you’re reminded not of loss but of the incredible gift of having been chosen by such a special soul.
At Love, Baxter, we’ve witnessed how creative memorial projects help families process grief while celebrating the joy their dogs brought to their lives. Your plaster paw print memorial becomes a keepsake and a focal point for ongoing connection with your beloved companion.
Your dog’s paws carried them through a lifetime of adventures by your side. Now, preserved in plaster, they can continue their journey as a permanent reminder of unconditional love, unwavering loyalty, and the irreplaceable joy that only a dog can bring to human hearts.
Take your time with this memorial project. Work with love, patience, and the knowledge that you’re creating something that will honor your dog’s memory for years to come. Every carefully crafted detail becomes a testament to the depth of your bond and the lasting impact of their pawprints on your heart.
If you’re weighing where your dog is, our guide to dog end-of-life covers the signs and the decisions together.
Frequently Asked Questions About How to Make a Dog Paw Print in Plaster
What materials do I need to create a plaster paw print memorial, and why is this type of memorial meaningful?
Creating a professional-quality dog paw print in plaster requires specific materials available at craft stores or online. Essential supplies include plaster of Paris (2-3 pounds for multiple attempts), a large mixing bowl dedicated to crafts, measuring cups for proper ratios, wooden stir sticks for smooth mixing, non-stick cooking spray or petroleum jelly to prevent sticking, clean towels for immediate paw cleaning, and a shallow cardboard box or disposable pie tin (6-8 inches diameter) as your mold. Additional helpful items include fine-grit sandpaper (220 grit) for finishing, high-value treats to keep your dog calm, drop cloths for workspace protection, and a timer for tracking plaster setting times. Paw print memorials matter profoundly to grieving families because they provide something physical to hold when everything else feels absent. Unlike digital photos trapped behind screens, plaster memorials invite touch, allowing you to trace familiar ridges and valleys of pads that once carried your beloved friend. Many families find that running their fingers over their dog’s paw print helps them feel connected during challenging grief moments. The weight of the finished memorial carries emotional significance: substantial enough to feel meaningful and detailed enough to trigger precious memories while serving as a touchstone for love that transcends loss.
When is the best time to create a paw print memorial, and what are the timing considerations?
There’s no “perfect” moment to create a paw print memorial, but understanding your options helps you make the best decision for your situation. During your dog’s lifetime, we offer the most relaxed, positive experience where your pup can participate without stress, allowing you to practice the technique and create multiple prints if desired. This works particularly well for puppies whose paws will change dramatically or families wanting annual documentation. During illness or senior years, the process becomes more urgent, yet it remains entirely possible. Senior dogs often create the most meaningful impressions, having weathered years of loyal service, although you may need to accommodate their comfort levels and mobility issues. After passing, it allows for post-mortem prints within 6-12 hours after death before rigor mortis affects limbs. While emotionally challenging, many families find this final memorialization act deeply meaningful. However, it requires working gently and having supportive assistance. Each timing option offers unique benefits and challenges, with the most crucial factor being what feels right for your family and your dog’s specific situation. The process moves quickly once plaster mixing begins, so preparation prevents stress regardless of timing, and choosing quiet moments when your dog is relaxed but alert (often mid-morning) typically works best.
What is the step-by-step process for creating a plaster paw print memorial?
Begin by preparing your workspace in a calm, familiar environment with all materials within easy reach, since the process moves quickly once started. Clean your dog’s paw thoroughly with a damp towel, removing dirt and debris, then dry completely. Even small amounts of water affect plaster consistency. Set up your mold by spraying it with cooking spray or coating it with petroleum jelly to prevent sticking. Mix a small amount of plaster (approximately 1 cup powder to ½ cup water) to a thick cream consistency, pour into the container to a ½ inch depth, and tap gently to release air bubbles. Allow plaster to set 2-3 minutes until firm enough to hold impressions but soft enough for paw insertion. Test readiness by touching surface (should feel slightly firm but yield to pressure). Guide your dog’s paw into plaster with steady, even pressure for 10-15 seconds, watching for plaster to rise around paw edges, indicating good contact, then lift straight up to avoid smudging and immediately clean the paw. While impression sets, prepare the main plaster batch (2 cups powder to 1 cup water) and pour it over the impression layer after 10 minutes, filling to within ¼ inch of the container top. Allow complete curing for 2-4 hours minimum (overnight preferred), then carefully remove from mold and use fine-grit sandpaper for finishing touches. Consider sealing with clear acrylic sealant for protection, especially for outdoor display.
What are common mistakes to avoid and alternative memorial options if plaster doesn’t work for my situation?
Common mistakes that affect final quality include mixing plaster too thin (resulting in poor detail capture and weak memorials), rushing impression timing (leading to smudged prints), insufficient paw cleaning (causing texture irregularities), moving the paw during impression (creating blurred edges), inadequate mold preparation (making removal difficult and potentially damaging the memorial), using wrong plaster-to-water ratios, and skipping air bubble removal (creating weak spots causing later cracking). Success strategies include practicing timing with test batches, having high-value treats and praise ready, working with a partner for restless dogs, considering your dog’s energy level and natural rhythms, and taking multiple impressions when possible. Alternative memorial options include clay impressions, which provide similar detail but require more working time and are easier to handle for anxious dogs. Ink paw prints on special paper create beautiful, artistic memorials perfect for framing. Additionally, salt dough impressions, made with household ingredients, result in charming, rustic memorials with a homemade feel. Each alternative offers unique benefits, and many families create multiple memorial types using different methods. Remember that minor imperfections often add character to memorial pieces: slightly asymmetrical prints or small texture variations tell the story of a real dog who lived a real life, making the memorial even more precious and authentic to your beloved companion.
On this topic